Navigation: Settings > Custom Checkouts
RentMy offers custom checkout options to collect exactly the information you need from your customers.
To add custom fields to your checkout experience, click the Settings > Custom checkouts.
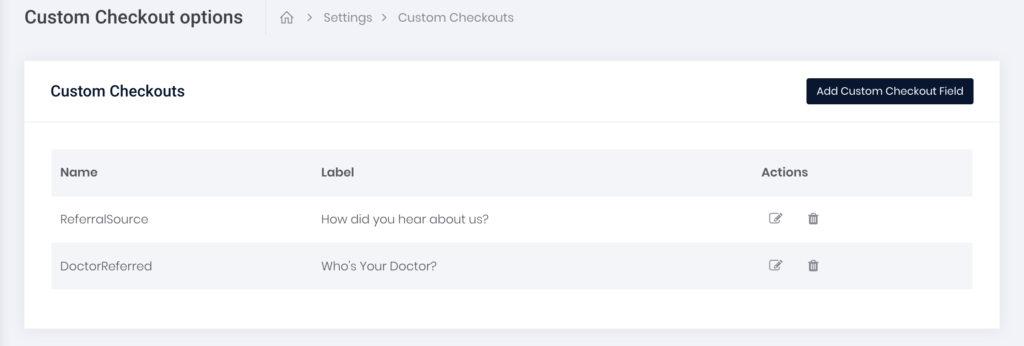
To create a custom checkout question, click the Add Custom Checkout Field button:

1. enter a field name (no spaces or special characters).
2. Enter a label name, which is how the field will be labeled in the cart. Examples of label names include "How did you hear about us?", "May we call you?" or "Please upload your certificate of insurance".
3. Select a field type (Text, Selectbox, or File).
Text: Allow customers to enter freeform text
Selectbox: Allow customers to choose from predefined options. To add options, enter text of each choice separated by a semicolon (with no spaces between options. Example: red;blue;white;yellow).
File: Allow customers to upload files, photos, etc.
4. Mark whether an input to the field is Required by selecting the box.
To add the field responses to order receipts, make note of the field label (copy exactly as it is named in the Custom checkouts page). Then, navigate to Settings > Order Receipt.
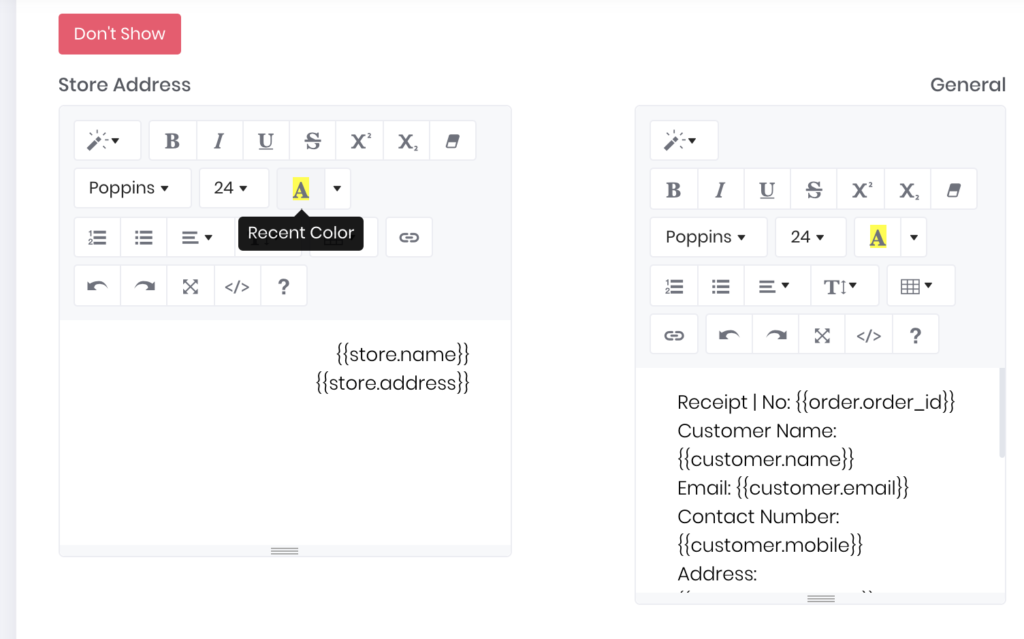
From the Receipt editor page, choose to display in the Store Address or General box. The format of the code is {{custom.field_name}}, where "field_name" is the field name label you created in the previous step. Ensure there is no formatting (like colors or special fonts). The field will appear on the receipt with the label name and the customer response.